1
2
3
4
5
6
7
8
9
10
11
12
13
14
15
16
17
18
19
20
21
22
23
24
25
26
27
28
29
30
31
32
33
34
35
36
37
38
39
40
41
42
43
44
45
46
47
48
49
50
51
52
53
54
55
56
57
58
59
60
61
62
63
64
65
66
67
68
69
70
71
72
73
74
75
76
77
78
79
80
81
82
83
84
85
86
87
88
89
90
91
92
93
94
95
96
97
98
99
100
101
102
103
104
105
106
107
108
109
110
111
112
113
114
115
116
117
118
119
120
121
122
123
124
125
126
127
128
129
130
131
132
133
134
135
136
137
138
139
140
141
142
143
144
145
146
147
148
149
150
151
152
153
154
155
156
157
158
159
160
161
162
163
164
165
166
167
168
169
170
171
172
173
174
175
176
177
178
179
180
181
182
183
184
185
186
187
188
189
190
191
192
193
194
195
196
197
198
199
200
201
202
203
204
205
206
207
208
209
210
211
212
213
214
215
216
217
218
219
220
221
222
223
224
225
226
227
228
229
230
231
232
233
234
235
236
237
238
239
240
241
242
243
244
245
246
247
248
249
250
251
252
253
254
255
256
257
258
259
260
261
262
263
264
265
266
267
268
269
270
271
272
273
274
275
276
277
278
279
280
281
282
283
284
285
286
287
288
289
290
291
292
293
294
295
296
297
298
299
300
301
302
303
304
305
306
307
308
309
310
311
312
313
314
315
316
317
318
319
320
321
322
323
324
325
326
327
328
329
330
331
332
333
334
335
336
337
338
339
340
341
342
343
344
345
346
347
348
349
350
351
352
353
354
355
356
357
358
359
360
361
362
363
364
365
366
367
368
369
370
371
372
373
374
375
376
377
378
379
380
381
382
383
384
385
386
387
388
389
390
391
392
393
394
395# Call Me Please app
<!-- Get Me Out Bed -->
<img width="180" src="./apps/nextjs/public/logo.svg" />
<https://call-me-pls.vercel.app>
A mobile application that allows users to schedule AI voice phone calls using React Native and Expo.
## Follow the development journey on YouTube Playlist
<a href="https://www.youtube.com/playlist?list=PLH-KKdKkxOQKy1VTd2_uBTWxN3JmgbGq0">
<img src="./youtube-thumbnail.avif" width="640" alt="@gianpaj - YouTube Playlist">
</a>
## Overview
Call Me Please is a mobile application that lets users schedule AI-powered voice calls. Users can select from various AI voices, set up recurring calls, and manage their call schedules through an intuitive interface.
## Features
- [ ] 🗣️ Choose from multiple AI voices
- [ ] 📱 Schedule AI voice call alarms
- [ ] 🔔 Push notifications for scheduled calls
- [ ] 👤 User authentication with Google, Apple, Email + verification, and Twilio SMS verification (using Supabase)
## Later
Once I spend $100 on OpenAI, then add Stripe integration for top-up credits.
- [ ] 💳 Credit system with Stripe integration (top-up)
- [ ] 🔄 Set recurring calls (daily, weekly, weekdays)
- [ ] 🌍 Multi-language support
- [ ] End-to-end testing with Maestro <https://maestro.mobile.dev/platform-support/react-native>
## Tech Stack
- **Frontend**: React Native with Expo
- **AI Agent**: Python
- **Backend**: Next.js
- **Database**: Supabase
- **State Management**: Zustand
- **API Communication**: tRPC
- **ORM**: Drizzle
- **UI Components**: NativeWind
- **Internationalization**: i18next (TBD) <https://docs.expo.dev/guides/localization/>
## Project Structure
This is a Turborepo project with the following structure:
- `/apps/expo` - React Native mobile app
- `/apps/nextjs` - Next.js Landing Page and API server (tRPC)
- `/apps/auth-proxy` - OAuth proxy
- `/apps/webrtc-server` - Python LiveKit server
- `/packages/api` - Shared API layer
- `/packages/auth` - Authentication utilities
- `/packages/ui` - Shared UI components
- `/packages/db` - Database utilities

## Getting Started
1. Clone the repository
2. Install dependencies:
```bash
pnpm install
```
3. Set up environment variables (See `.env.example` files)
4. Run the JS development servers:
```bash
pnpm dev
```
## Setup Python WebRTC Server
```bash
cd apps/webrtc-server
uv .venv
uv sync
```
### Run Python WebRTC Server
```bash
cd apps/webrtc-server
python3 main.py dev
```
## Download Turn-detection Voice model
```bash
cd apps/webrtc-server
python my_agent.py download-files
```
<https://github.com/livekit/agents/tree/main/livekit-plugins/livekit-plugins-turn-detector>
> The model requires 1.5GB of RAM and runs within a shared inference server, supporting multiple concurrent sessions.
## Resources
- [Live Kit - OpenAI Realtime API integration guide](https://docs.livekit.io/agents/openai/overview/)
- <https://playground.livekit.io/>
- <https://github.com/livekit/client-sdk-react-native-expo-plugin>
- <https://github.com/livekit-examples/phone-assistant>
- Original repo1: <https://github.com/roninoss/create-expo-stack>
- Original repo2: <https://github.com/t3-oss/create-t3-turbo>
- Landing page generated with [Bolt.new](https://bolt.new)
- [Fly.io](https://fly.io) to deploy the Python WebRTC server
### App Publishing
- <https://icon.kitchen> - for App Stores' icons
- <https://romannurik.github.io/AndroidAssetStudio> - for Notification icons
## Icon
- Logo/icon taken from <https://github.com/twitter/twemoji>
### LiveKit
- [PlayHT Python module](https://github.com/playht/pyht)
-- ORIGINAL README BELOW --
> [!NOTE]
>
> NextAuth setup now works for Expo app!
> [!NOTE]
>
> OAuth deployments are now working for preview deployments. Read [deployment guide](https://github.com/t3-oss/create-t3-turbo#auth-proxy) and [check out the source](./apps/auth-proxy) to learn more!
## Installation
> [!NOTE]
>
> Make sure to follow the system requirements specified in [`package.json#engines`](./package.json#L4) before proceeding.
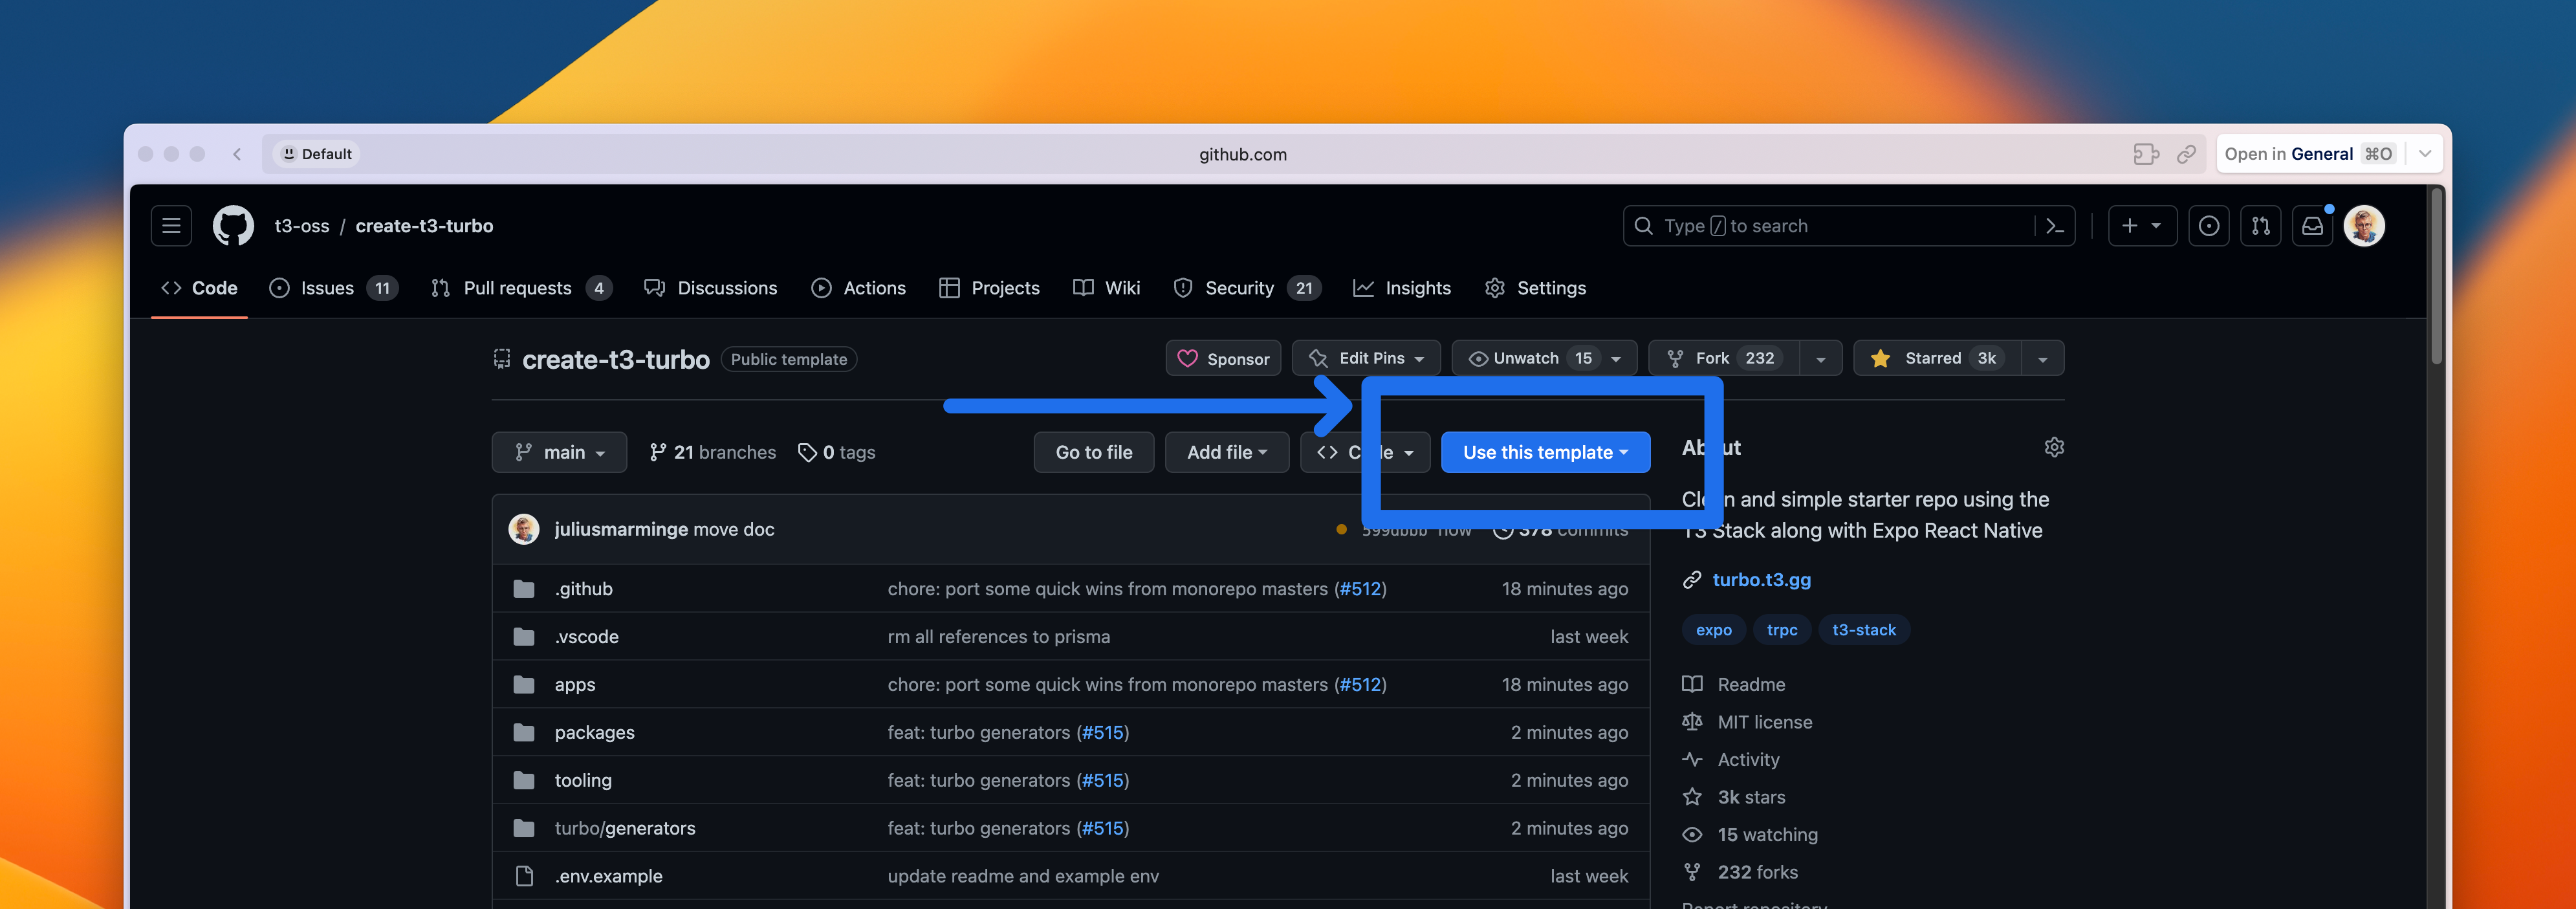
There are two ways of initializing an app using the `create-t3-turbo` starter. You can either use this repository as a template:
or use Turbo's CLI to init your project (use PNPM as package manager):
```bash
npx create-turbo@latest -e https://github.com/t3-oss/create-t3-turbo
```
## About
Ever wondered how to migrate your T3 application into a monorepo? Stop right here! This is the perfect starter repo to get you running with the perfect stack!
It uses [Turborepo](https://turborepo.org) and contains:
```text
.github
└─ workflows
└─ CI with pnpm cache setup
.vscode
└─ Recommended extensions and settings for VSCode users
apps
├─ auth-proxy
| ├─ Nitro server to proxy OAuth requests in preview deployments
| └─ Uses Auth.js Core
├─ expo
| ├─ Expo SDK 51
| ├─ React Native using React 18
| ├─ Navigation using Expo Router
| ├─ Tailwind using NativeWind
| └─ Typesafe API calls using tRPC
└─ next.js
├─ Next.js 14
├─ React 18
├─ Tailwind CSS
└─ E2E Typesafe API Server & Client
packages
├─ api
| └─ tRPC v11 router definition
├─ auth
| └─ Authentication using next-auth.
├─ db
| └─ Typesafe db calls using Drizzle & Supabase
└─ ui
└─ Start of a UI package for the webapp using shadcn-ui
tooling
├─ eslint
| └─ shared, fine-grained, eslint presets
├─ prettier
| └─ shared prettier configuration
├─ tailwind
| └─ shared tailwind configuration
└─ typescript
└─ shared tsconfig you can extend from
```
> In this template, we use `@acme` as a placeholder for package names. As a user, you might want to replace it with your own organization or project name. You can use find-and-replace to change all the instances of `@acme` to something like `@my-company` or `@project-name`.
## Quick Start
> **Note**
> The [db](./packages/db) package is preconfigured to use Supabase and is **edge-bound** with the [Vercel Postgres](https://github.com/vercel/storage/tree/main/packages/postgres) driver. If you're using something else, make the necessary modifications to the [schema](./packages/db/src/schema.ts) as well as the [client](./packages/db/src/index.ts) and the [drizzle config](./packages/db/drizzle.config.ts). If you want to switch to non-edge database driver, remove `export const runtime = "edge";` [from all pages and api routes](https://github.com/t3-oss/create-t3-turbo/issues/634#issuecomment-1730240214).
To get it running, follow the steps below:
### 1. Setup dependencies
```bash
# Install dependencies
pnpm i
# Configure environment variables
# There is an `.env.example` in the root directory you can use for reference
cp .env.example .env
# Push the Drizzle schema to the database
pnpm db:push
```
### 2. Configure Expo `dev`-script
#### Use iOS Simulator
1. Make sure you have XCode and XCommand Line Tools installed [as shown on expo docs](https://docs.expo.dev/workflow/ios-simulator).
> **NOTE:** If you just installed XCode, or if you have updated it, you need to open the simulator manually once. Run `npx expo start` from `apps/expo`, and then enter `I` to launch Expo Go. After the manual launch, you can run `pnpm dev` in the root directory.
```diff
+ "dev": "expo start --ios",
```
2. Run `pnpm dev` at the project root folder.
#### Use Android Emulator
1. Install Android Studio tools [as shown on expo docs](https://docs.expo.dev/workflow/android-studio-emulator).
2. Change the `dev` script at `apps/expo/package.json` to open the Android emulator.
```diff
+ "dev": "expo start --android",
```
3. Run `pnpm dev` at the project root folder.
### 3. Configuring Next-Auth to work with Expo
In order to get Next-Auth to work with Expo, you must either:
#### Deploy the Auth Proxy (RECOMMENDED)
In [apps/auth-proxy](./apps/auth-proxy) you can find a Nitro server that proxies OAuth requests. By deploying this and setting the `AUTH_REDIRECT_PROXY_URL` environment variable to the URL of this proxy, you can get OAuth working in preview deployments and development for Expo apps. See more deployment instructions in the [auth proxy README](./apps/auth-proxy/README.md).
By using the proxy server, the Next.js apps will forward any auth requests to the proxy server, which will handle the OAuth flow and then redirect back to the Next.js app. This makes it easy to get OAuth working since you'll have a stable URL that is publically accessible and doesn't change for every deployment and doesn't rely on what port the app is running on. So if port 3000 is taken and your Next.js app starts at port 3001 instead, your auth should still work without having to reconfigure the OAuth provider.
#### Add your local IP to your OAuth provider
You can alternatively add your local IP (e.g. `192.168.x.y:$PORT`) to your OAuth provider. This may not be as reliable as your local IP may change when you change networks. Some OAuth providers may also only support a single callback URL for each app making this approach unviable for some providers (e.g. GitHub).
### 4a. When it's time to add a new UI component
Run the `ui-add` script to add a new UI component using the interactive `shadcn/ui` CLI:
```bash
pnpm ui-add
```
When the component(s) has been installed, you should be good to go and start using it in your app.
### 4b. When it's time to add a new package
To add a new package, simply run `pnpm turbo gen init` in the monorepo root. This will prompt you for a package name as well as if you want to install any dependencies to the new package (of course you can also do this yourself later).
The generator sets up the `package.json`, `tsconfig.json` and a `index.ts`, as well as configures all the necessary configurations for tooling around your package such as formatting, linting and typechecking. When the package is created, you're ready to go build out the package.
## FAQ
### Does the starter include Solito?
No. Solito will not be included in this repo. It is a great tool if you want to share code between your Next.js and Expo app. However, the main purpose of this repo is not the integration between Next.js and Expo — it's the code splitting of your T3 App into a monorepo. The Expo app is just a bonus example of how you can utilize the monorepo with multiple apps but can just as well be any app such as Vite, Electron, etc.
Integrating Solito into this repo isn't hard, and there are a few [official templates](https://github.com/nandorojo/solito/tree/master/example-monorepos) by the creators of Solito that you can use as a reference.
### Does this pattern leak backend code to my client applications?
No, it does not. The `api` package should only be a production dependency in the Next.js application where it's served. The Expo app, and all other apps you may add in the future, should only add the `api` package as a dev dependency. This lets you have full typesafety in your client applications, while keeping your backend code safe.
If you need to share runtime code between the client and server, such as input validation schemas, you can create a separate `shared` package for this and import it on both sides.
## Deployment
### Next.js
#### Prerequisites
> **Note**
> Please note that the Next.js application with tRPC must be deployed in order for the Expo app to communicate with the server in a production environment.
#### Deploy to Vercel
Let's deploy the Next.js application to [Vercel](https://vercel.com). If you've never deployed a Turborepo app there, don't worry, the steps are quite straightforward. You can also read the [official Turborepo guide](https://vercel.com/docs/concepts/monorepos/turborepo) on deploying to Vercel.
1. Create a new project on Vercel, select the `apps/nextjs` folder as the root directory. Vercel's zero-config system should handle all configurations for you.
2. Add your `DATABASE_URL` environment variable.
3. Done! Your app should successfully deploy. Assign your domain and use that instead of `localhost` for the `url` in the Expo app so that your Expo app can communicate with your backend when you are not in development.
### Auth Proxy
The auth proxy is a Nitro server that proxies OAuth requests in preview deployments. This is required for the Next.js app to be able to authenticate users in preview deployments. The auth proxy is not used for OAuth requests in production deployments. To get it running, it's easiest to use Vercel Edge functions. See the [Nitro docs](https://nitro.unjs.io/deploy/providers/vercel#vercel-edge-functions) for how to deploy Nitro to Vercel.
Then, there are some environment variables you need to set in order to get OAuth working:
- For the Next.js app, set `AUTH_REDIRECT_PROXY_URL` to the URL of the auth proxy.
- For the auth proxy server, set `AUTH_REDIRECT_PROXY_URL` to the same as above, as well as `AUTH_DISCORD_ID`, `AUTH_DISCORD_SECRET` (or the equivalent for your OAuth provider(s)). Lastly, set `AUTH_SECRET` **to the same value as in the Next.js app** for preview environments.
Read more about the setup in [the auth proxy README](./apps/auth-proxy/README.md).
### Expo
Deploying your Expo application works slightly differently compared to Next.js on the web. Instead of "deploying" your app online, you need to submit production builds of your app to app stores, like [Apple App Store](https://www.apple.com/app-store) and [Google Play](https://play.google.com/store/apps). You can read the full [guide to distributing your app](https://docs.expo.dev/distribution/introduction), including best practices, in the Expo docs.
1. Make sure to modify the `getBaseUrl` function to point to your backend's production URL:
<https://github.com/t3-oss/create-t3-turbo/blob/656965aff7db271e5e080242c4a3ce4dad5d25f8/apps/expo/src/utils/api.tsx#L20-L37>
2. Let's start by setting up [EAS Build](https://docs.expo.dev/build/introduction), which is short for Expo Application Services. The build service helps you create builds of your app, without requiring a full native development setup. The commands below are a summary of [Creating your first build](https://docs.expo.dev/build/setup).
```bash
# Install the EAS CLI
pnpm add -g eas-cli
# Log in with your Expo account
eas login
# Configure your Expo app
cd apps/expo
eas build:configure
```
3. After the initial setup, you can create your first build. You can build for Android and iOS platforms and use different [`eas.json` build profiles](https://docs.expo.dev/build-reference/eas-json) to create production builds or development, or test builds. Let's make a production build for iOS.
```bash
eas build --platform ios --profile production
```
> If you don't specify the `--profile` flag, EAS uses the `production` profile by default.
4. Now that you have your first production build, you can submit this to the stores. [EAS Submit](https://docs.expo.dev/submit/introduction) can help you send the build to the stores.
```bash
eas submit --platform ios --latest
```
> You can also combine build and submit in a single command, using `eas build ... --auto-submit`.
5. Before you can get your app in the hands of your users, you'll have to provide additional information to the app stores. This includes screenshots, app information, privacy policies, etc. _While still in preview_, [EAS Metadata](https://docs.expo.dev/eas/metadata) can help you with most of this information.
6. Once everything is approved, your users can finally enjoy your app. Let's say you spotted a small typo; you'll have to create a new build, submit it to the stores, and wait for approval before you can resolve this issue. In these cases, you can use EAS Update to quickly send a small bugfix to your users without going through this long process. Let's start by setting up EAS Update.
The steps below summarize the [Getting started with EAS Update](https://docs.expo.dev/eas-update/getting-started/#configure-your-project) guide.
```bash
# Add the `expo-updates` library to your Expo app
cd apps/expo
pnpm expo install expo-updates
# Configure EAS Update
eas update:configure
```
7. Before we can send out updates to your app, you have to create a new build and submit it to the app stores. For every change that includes native APIs, you have to rebuild the app and submit the update to the app stores. See steps 2 and 3.
8. Now that everything is ready for updates, let's create a new update for `production` builds. With the `--auto` flag, EAS Update uses your current git branch name and commit message for this update. See [How EAS Update works](https://docs.expo.dev/eas-update/how-eas-update-works/#publishing-an-update) for more information.
```bash
cd apps/expo
eas update --auto
```
> Your OTA (Over The Air) updates must always follow the app store's rules. You can't change your app's primary functionality without getting app store approval. But this is a fast way to update your app for minor changes and bug fixes.
9. Done! Now that you have created your production build, submitted it to the stores, and installed EAS Update, you are ready for anything!
## References
The stack originates from [create-t3-app](https://github.com/t3-oss/create-t3-app).
A [blog post](https://jumr.dev/blog/t3-turbo) where I wrote how to migrate a T3 app into this.